
Data Export
Create New Export
To save you time, Talosix created a set of useful templates that you can choose from to quickly generate a report. You can also customize your own report by selecting from a menu of options.
Create a report from existing templates
Select a template and click the Export button to begin. The system will generate a report and provide the status. Once complete, you can download it.
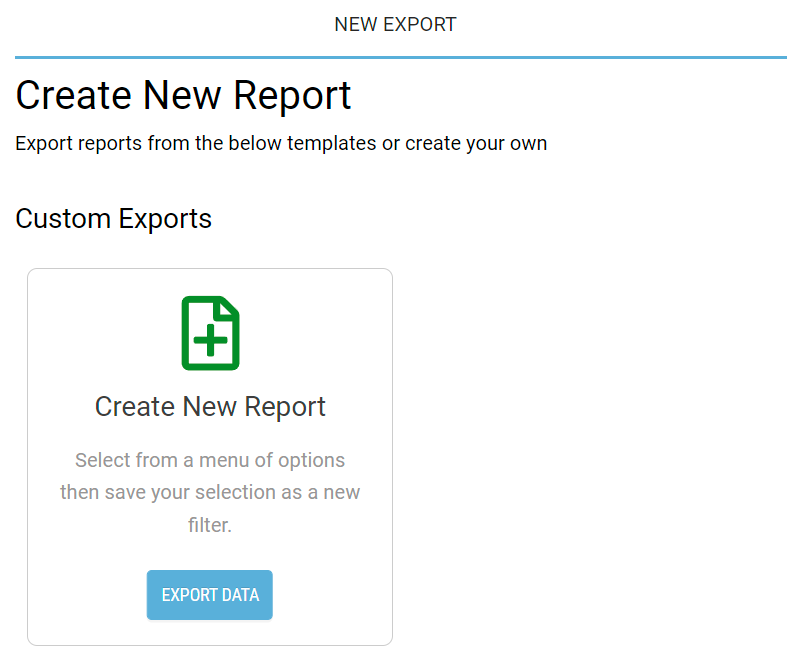
Create a custom report
To customize your report, click on the Export Data button to create a new report. A new pop-up window with a menu of available export options for selection.
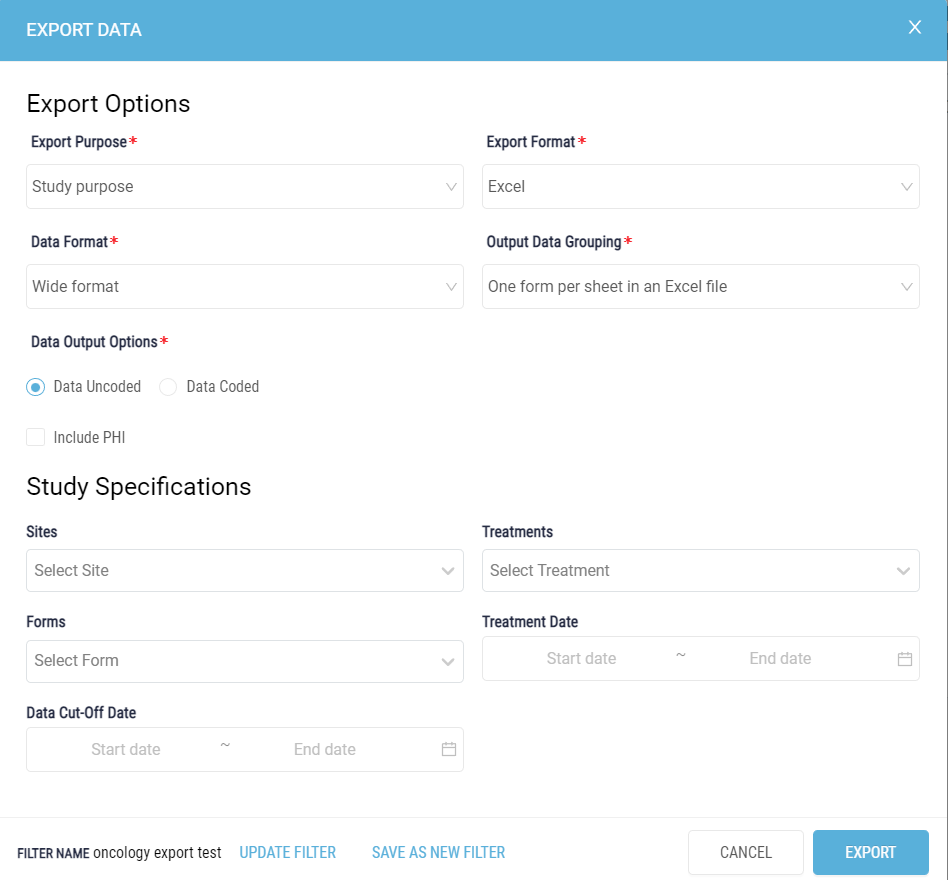
Export Options
Export Purpose
Select whether this export is for Study Purpose or Non-Study Purpose. For some user accounts, only Study Purpose is the only option.
Export Format
Select the export file type in Excel or CSV format. For Excel file format, you may choose 1 of 4 data grouping. For CSV file format, you may choose 1 of 2.
Data Format
Select Wide format or Long format depending on your needs. For example, a wide format dataset contains values that do not repeat for each patient ID. The long format contains values that can repeat for each patient and often each row designates the an epoch or visit / treatment.
Output Data Grouping
If you selected Excel file format from Export Format drop-down menu, you may choose
- All results in one sheet in an Excel file
- One form per sheet in an Excel file
- One subform per sheet in an Excel file
- One form per Excel file
If you selected CSV file format from the Export Format drop-down menu, you may choose:
- One form per CSV file
- One subform per CSV file
Data Output Options
Click on the radio button to select the answers to the questions Uncoded or Coded.
- Data Coded: answers in code or numeric values often for statistical purposes.
- Data Uncoded: answers as collected in alphanumeric characters.
Please refrain from including PHI unless absolutely necessary. If the data export file contains PHI, it must be saved to HIPAA-compliant file storage.
Select Study Specifications
Select Sites
Click on the drop-down menu to select the Site for this export.
Select Treatment
Click on the drop-down menu to select the Treatment type for this export that is applicable to the Study and Site.
Select Forms
Click on the drop-down menu to select the Forms for this export
Data Cut-Off Date
Click on the Start date and End date for your export. If no date is specified, the export will be of all data.
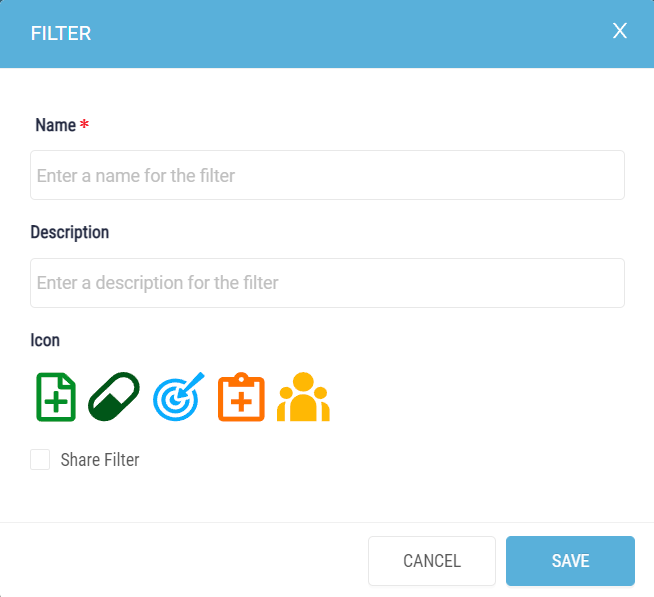
Save As New Filter
If you would like to save the filter selections as a template for use in the future, click the Save As New Filter link to begin.
In a new dialog window,
- Enter a name in the input box to save your selections as a new filter file,
- Provide a short description,
- Select an icon for your report filter,
- Click on the checkbox Share Filter to allow other users access to this template, then
- Click SAVE to continue.
Click the EXPORT button on the screen to generate the report. Once complete, you may download it to the appropriate file storage.
View Requests & History
It may take a few minutes to export the data. Please click the Refresh button or wait for an email indicating that your export request has been completed then use the included link to download the file.