
Data Mangement
The Data Management home screen is an interactive dashboard where you can manage forms, monitor, and perform key actions related to patient management. To access, select "Data Management" from the main menu on the left. Upon entering the Data Management home screen, you can view summary modules each with a dropdown menu and call to action to complete, review, or perform trial-related tasks. You can also see the list of patients who have enrolled in the study and important patient details.
Summary Modules
The summary modules provide a quick and easy way to narrow down the patient list so you can find and sort the data you want to see. You can simply click on the arrow down icon to access the dropdown menu, select the filter(s), click the "Reset" button to clear the selection, or "Apply" button to continue with the selection.
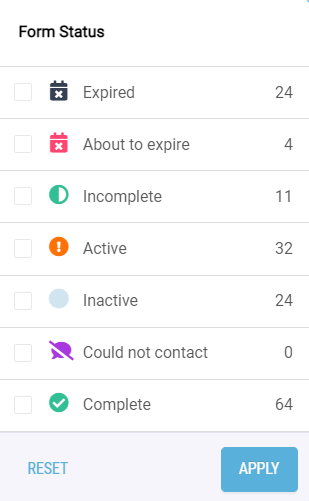
Form Status
You can select one or more form statuses and apply the filters to identify the forms to complete, edit, view, or take the appropriate next steps.
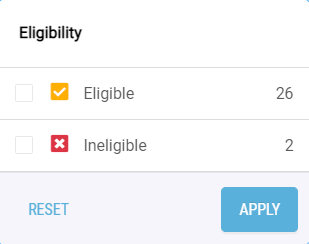
Eligibility
You can filter the patients by eligibility or ineligible status.
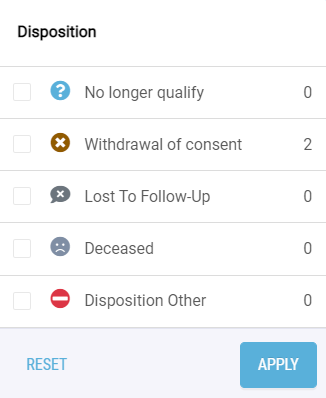
Disposition
You can filter the patients by the following disposition statuses.
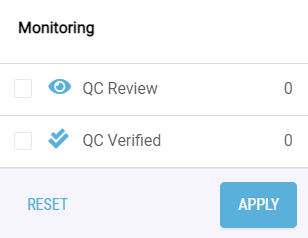
Monitoring
The Monitoring summary module is visible to applicable users who need to perform quality control (QC) of forms. They may select the forms that are in QC Review process or have been QC Verified.
Key Actions
You can perform key actions such as adding a new patient, adding treatment, searching for a patient, searching for a patient by unique patient identification, patients within the treatment date range or last contact date range, or the number of days until the forms are expired.
Add Patient
To add a new patient to a study,
- Click the "Add Patient" button located on the Data Management home screen on the right. This will open a window with a form to begin the registration process.
- Fill out the form with relevant details about the patient.
- When you have completed the form, click
- "Submit & Add New" to add another patient,
- "Submit & Add Screening" to proceed to the patient screening process, or
- "Submit & Close" button located at the bottom of the screen to close.
Add Treatment
To add a treatment to a patient, click on the patient record then click on the "Add Treatment" button. This will open a dialog window with a form to input the treatment information. Once all information has been entered, click the "Save" button at the bottom of the dialog window to complete.
Edit Existing Treatment
To edit an existing treatment assigned to a patient,
- Click on a patient record to expand the patient record.
- Click on the "Edit Treatment" button.
- Add information or edit the form with relevant details about the patient.
- Click the "Save & Close" button located at the bottom of the screen to save your changes.
Delete Patient Data
- Locate the patient record that contains the data you want to delete. Click on the patient record to expand the row and reveal additional options.
- Click on "Action" button and select "Data Deletion".
- Next, choose the appropriate "Type" of deletion:
- General: This option is used for removing data due to corrections or accidental inputs. The response data will be cleared from the forms but will still be available in the Audit Trail for reference.
- GDPR: This option is for completely deleting patient data from the system. The patient record and any relevant data in the Audit Trail will be permanently deleted, and the data cannot be recovered.
- Select the "Level" of deletion:
- Patient: Choosing this option will delete all patient data associated with the selected record.
- Patient Treatment: This option will only delete treatment data, including treatment dates, treatment sites, and treatment names.
- Form: Selecting this option will clear the data entered in the entire form.
- Form Page: This option will clear data on a specific page of the form.
- Select the "Approver" for the data deletion request.
- If necessary, add any relevant notes or comments regarding the deletion request.
- Finally, click "Create" to send the deletion request to the assigned approver.
To ensure security and proper authorization, when you are both the requester and the approver for a data deletion request, you will need to upload a document as proof of permission to delete the patient data.